
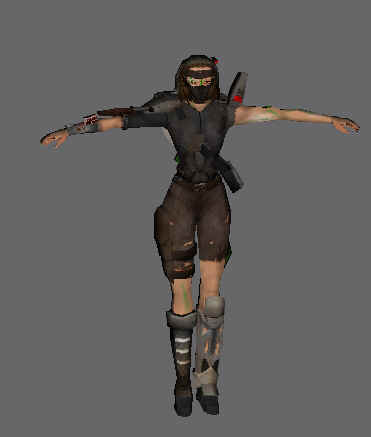
- First we need our Character, here you can see the Umagon from Reborn
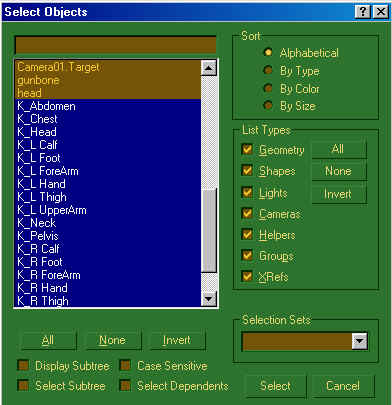
- Then we need the Skeleton, depending on what Charactertype we have, import either the male or the female character
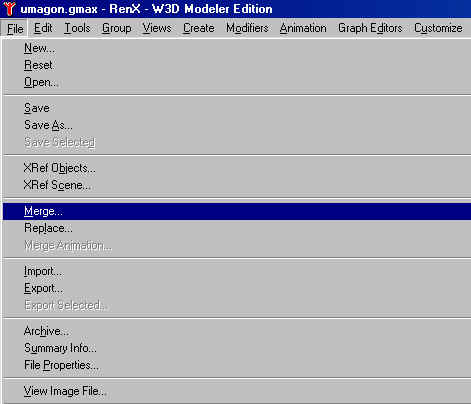
(You find them in the folder of the Renegade Public Tools under Characters\(fe)male\ select the skeleton and a screen similar to this should came up )
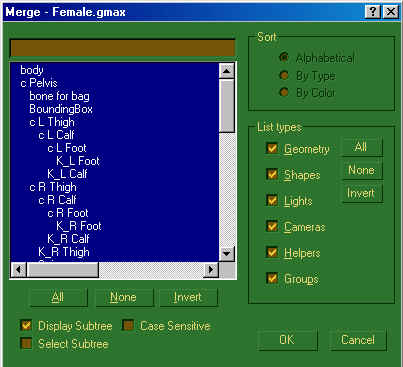
Select ALL and press ok.
- Now we need to align and resize the character, because in most cases it will look like this:
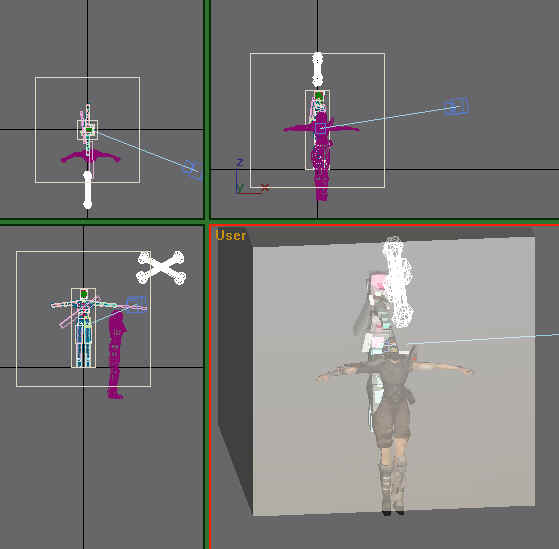
To make your life easier you should hide all K_ bones and the old mesh, also the wordlboxes
Try to align the character as close as possible to fit the bones!!
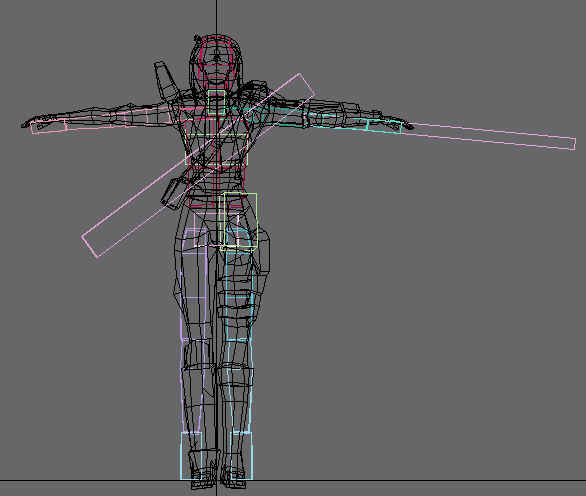
- Tweak up the base position, so the character fits the bones.
As you saw on the previous screenshot the arms and the feets/legs don't fit that good, so we need to align them, so hope that the creator of the model has already designed the model to fit, otherwise you`ll have a lot of fun now align it properly
Its is very important that you align it as close as possible, that will later make your life a lot easier and will reduce the amount of animation errors you later might get!
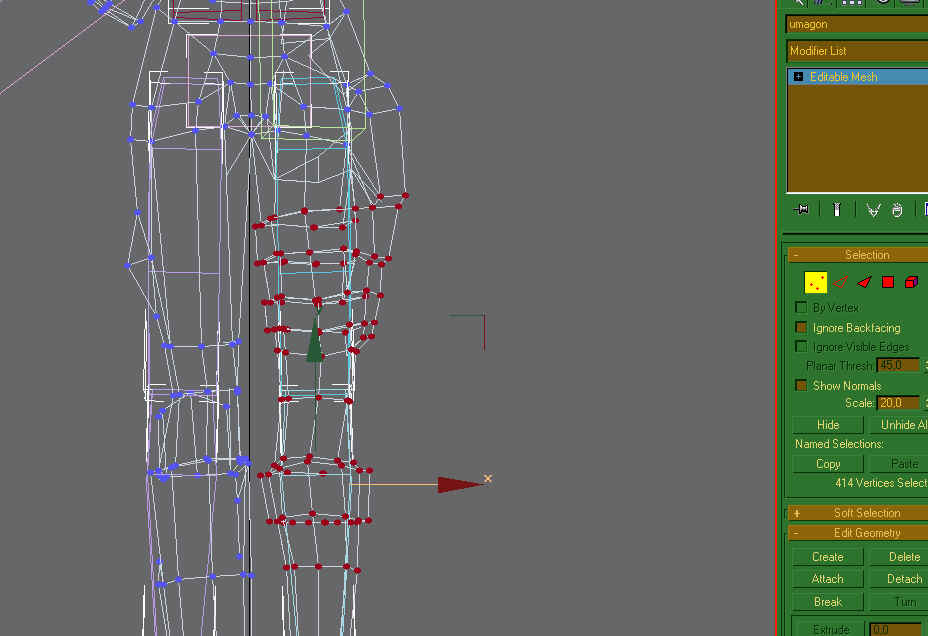
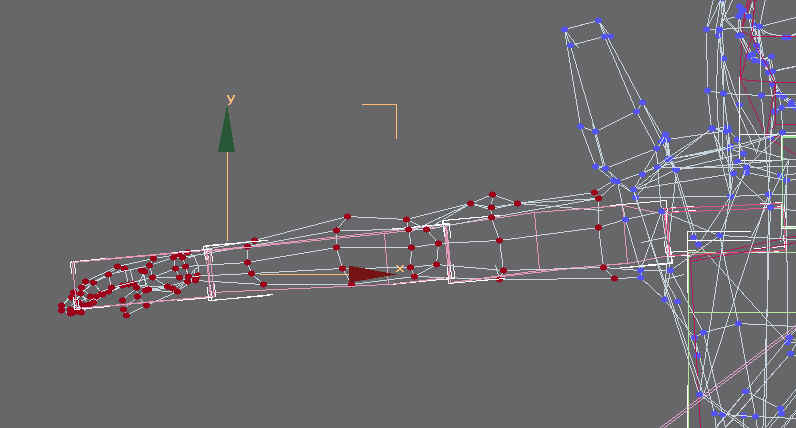
Now it fits the bones a lot better

-
Unhide all parts, delete the merged Head and body mesh, the female file also contains a camera object that you can delete as its not needed. If you have not done it yet, save your work into a new file
-
Now we will Link the Mesh to the
WWSkin(thats the small CrossBone) by selecting

and the click on the mesh ad drag to the WWSkin:

Now the model has the WWSkin Binding Modifier applied we will now use this to bind the vertices to the bones:

Select all Vertices and press on the Auto-Link Button

Congratulation, the smart part is done now
- Time for fixing errors, or did you think it is THAT easy???
For better working on the next steps you can again hide all the
K_Bonesthe Worldbox, the select all thec_bonesand activate the "Display as box" option

Now move the animation slider to frame 1, you will notice that your Character moves.
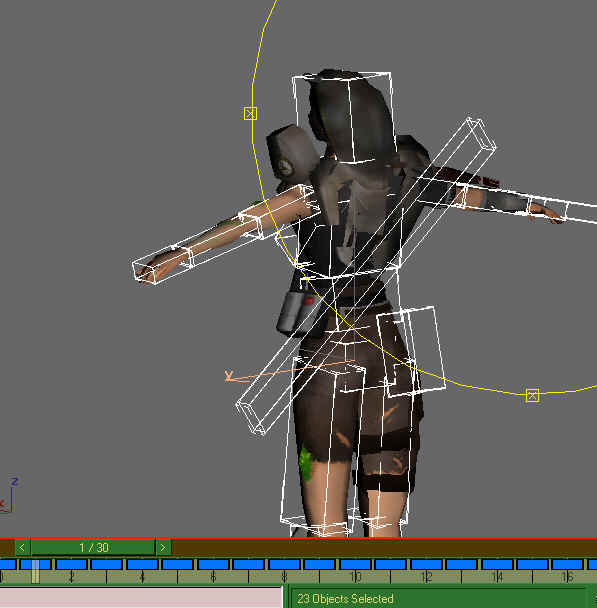
Move through the different frames and watch out for anny misaligned faces.
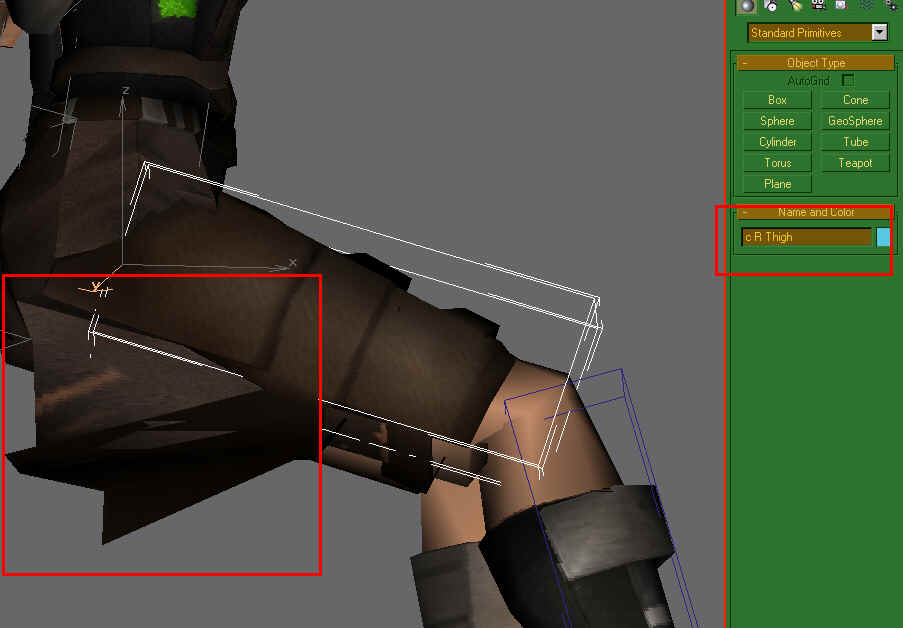
Select the Bone the faces "should" be aligned to here it is the right tight bone, write it down, or remember it, and select the misaligned faces, and click on the Link to bone by Name

Find and select the bone the faces belong to:

Press Ok and your faces are aligned right, well done

Repeat these steps until all faces are aligned right
- Export your final result
Export it with following Settings:
Female Character:
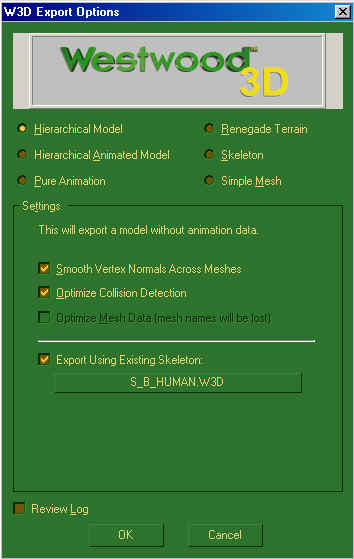
Male Character:
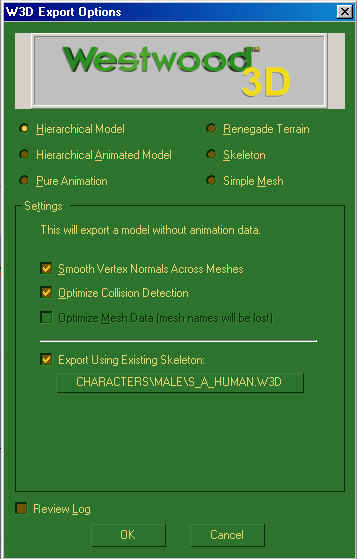
You find the needed Skeleton Files in the corresponding folder from where you have merged the skeleton file.
Now you can test the Character In-Game and see if there are any other problems you might need to fix, have fun on your hard way